
Jonny's Lesson 1 & 2 Learning Experience
- infamousproduction0
- Mar 19, 2021
- 6 min read
Introduction
I wasn't sure if things we learnt in class were to be chronicled here on the blog or not as I thought this was purely for independent learning, but after Lee pointed out in the latest Visual Effects class this all counts as learning.
So I decided to go back to previous lessons and complete them again and I took screen shots. This to be honest I thought was great as it helped me get even more familiar with the software. I normally don't get a lot of time to play around with the software due to my duties as a carer, working part time and tidying up the last few items of moving I plan to dedicate more time going forward as I now have more free time!
Lesson 1: The Basics
In the first video Jonny goes over the basics of Adobe After Effects (AE), teaching us things like shot cut keys to make life easier for navigating the system through specific keyboard inputs, to how to get specific tool windows to be available when you need them and can't find them through the window settings.

Jonny simply dragged the video across from his task bar to get started and explained that AE would match it to the dimensions of the video both in size and frame rate. After this he explained that we will be adding something simple to practice animating and added a text that said Cinematic Arts. I went with HEY NATURE as I didn't have a witty title to progress with, but suitable for the example.

After the text was in position, Jonny gave us the run down on how to change the style of the text, ranging from font, colour, size and placement. He further added how to get the crosshair from the text to appear behind the text by holding CTRL and double clicking on the Pan Behind Tool at the top.

As the lesson progressed Johnny had showcased how to add text coming in from off screen, as well as how to keyframe, add motion blur, easing the animation in as well as ways to make it look like you had added transition effects all through the use of an adjustment layer, keyframes and using Hue/Saturation to add a crossfade like effect.
After applying all of these my timeline started to look insane, but as he explained it is like photoshop in that it is comprised of many layers. using the "U" key on the composition panel will help you minimize and find what you need to keep it tidy.

As you can now see I added keyframes, a path for the text to come in and modified the colour and added a vignette just like the lesson had explained. Bellow is my final product:
Lesson 2: Motion Track
This lesson was a little more advanced the the one before so I have more screenshots, so this lesson will be a bit more of a lengthy. So just as the previous lesson, I dragged the video onto the timeline and it matched all of the video encoding settings.

After the video was on the timeline I clicked on the right to reveal the Tracking Panel, Jonny explained the the tracking system works and how the properties of the tracking boxes as well as the limitations. Jonny then explained that we would be using the Scaling feature, to get an additional tracker box to anchor to a point where the camera will focus on.
I dragged the boxes to the locations Jonny did, as you will see the next screen shot, I then sized the feature box and the search box around the locations I thought would be appropriate.

The next step Jonny had mentioned is to use the Analyzer tool and to use the forward play icon, this would scan and generate appropriate key frames to track the motion to the previously set up anchor points.

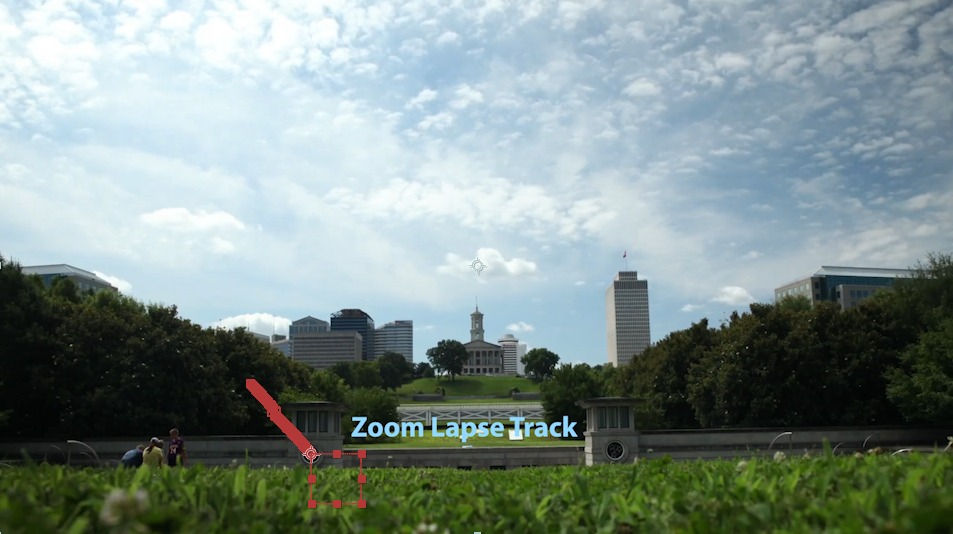
As you can now see there are two light blue lines showing the path of the camera will take, as it zooms in the graphic will slide along the path. I then added a text layer like Jonny had instructed in the video and added text "Zoom Lapse Track" between the two pillars of the moving tack.

The next step as per the video was to add a Null layer, this would act as a placeholder for the motion track and allow us to move the text independently without it effecting the motion of the fixed camera points we have set up.

Now Jonny explained that we need to transfer the data from the motion track to the null layer so that way we can animate the text layer and bring it from off screen like in the first example video. We did this by going to the tracker window and selecting edit target then changing the layer to Null 1.

After we click ok we should get the apply dimensions to X and Y, clicking ok will take us back the composition with a new red box feature added thanks to us transferring the data to the null layer.
Now that we have this all set up it was time to start adding the text effect, transitioning in from the left behind the little hut structure. I followed the same steps by using the keyframes, designating an end point and then dragging the text off in the direction whilst holding shift to keep it level.

When I dragged it off I added the motion blur effect, and played around with the keyframe positions until I found the most effective speed, adding the easy ease in function that Jonny pointed out in last weeks lesson to make to come to a smoother stop.
A few more steps to go, Jonny mentions in his video that he wanted the text to appear from behind the pillar as it shoots in from the left. To do this he said we would have to use the pen tool he explained to create a Mask layer, which would essentially work like a cover for the text so it could give the effect of coming in from nowhere. To start, he recommended by making a copy of the footage using CTRL + D and using the layer facility to mask off the area creating a hidden zone for the next to appear behind.

The thing that Jonny points out next really shocked me as I thought you could just do it by attaching it to the null layer much like the text, but if you were to do that it warps and distorts the mask layer we created. Instead he basically said that we would have to animate the layer as the footage moves, creating 3 more key frames. Two at the start and one at the end to make sure that the newly created mask layer would not go over the next and alter it in anyway as the camera zooms in.
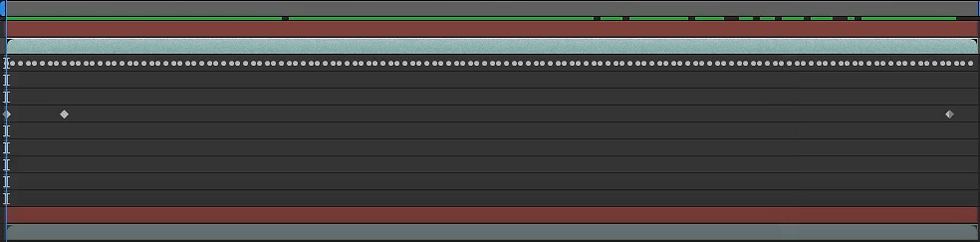
Before I finished up the lesson myself I noticed that the text I used was a little jittery as the footage played so I went through my keyframes, frame by frame and deleted ones at points that would make the text wiggle in any weird ways. In the end I wasn't able to get it completely still, but it was a lot smoother than it was initially. Bellow you can see that I only removed very minimal keyframes and it made the text a lot smoother, I didn't want to remove anymore due to Jonny informing the class that if you remove too many and the motion track will end up not working.

Jonny then went on to show other things we could do to add more panache to the clip, I changed the opacity of my text layer and added another one behind it to give a nice blue glow. I added an adjustment layer, giving a bit more exposure and altering contrast as well as adding HDR colour correction, however the more effects I tried to add the more difficulty my computer had to render AE kept crashing on a few instances.

In the end I thought that this lesson was really fun as it gave a little more to work around, I think that this will come in handy for sure when I go to recreate some of my favourite special moves as effects going forward. But for now that is the end of todays post, my finished product for lesson 2 will be beneath! Thanks for sticking it out to the end, I will also be posting the Green Screen lesson chronicle on Sunday after I try it.


Comments